Aerial Pole
Specs
| Feature | Description |
|---|---|
| Configuration | Single Piece |
| Length | 8ft |
| Diameter | 46mm |
Sizing

LED display height: 84.5"
Sized to fit inside an 8' tube, the max length before shipping gets expensive.
Contact us for custom sizing.
Variants
Wired
Wired power and ethernet data connection
We've combined a swivel with a slip ring, so an aerial apparatus can have a hardwired power and data connection while being able to spin freely.
Advantages: - Permanent power connection means no need to charge - Wired data connection enables realtime data streaming, for robust external control
Disadvantages: - Power and data cables must be run along with rigging, if possible
Wireless
Battery power and onboard media server
For scenarios where it is not practical to run cables to the top of the pole, a battery and media server can be integrated into the platform at the bottom of the pole.
Advantages: - Self-contained device can be easily connected to rigging with no cables
Disadvantages: - Show integration requires a wireless system to trigger content - Less control over device - Battery has limited run time and must be recharged
Pre-2025
Base Assembly
The pole and base are shipped separately. First, mount the base and connect the LED strips to the controller.
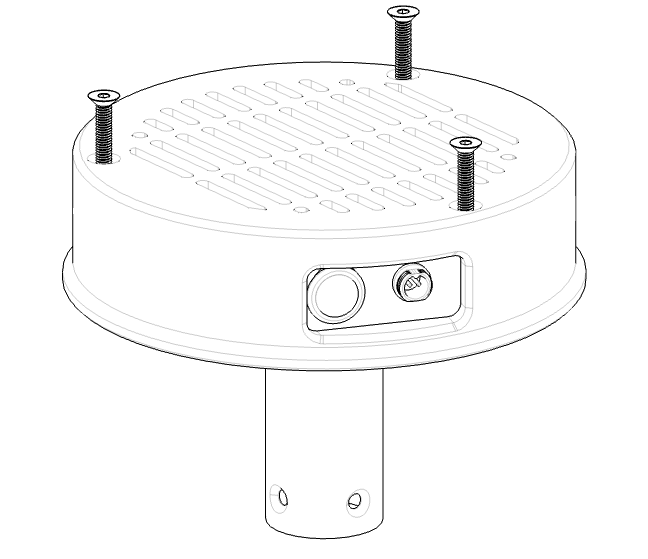
Step 1: Remove Bottom Cover
Using a 4mm allen wrench, remove the three M6x55mm bolts that hold the bottom cover in place. Remove the cover.
Step 2: Insert base onto pole
Gather the 4 sets of LED connectors so that they’re all recessed in their channels.
Slide the base over the end of the pole. Be careful to not damage the wires in this step.
Align the white lines on the base and pole. The base only fits well in one orientation.
Step 3: Fasten bottom tube bolts
Loosely insert all 8 M6 bolts coupling the base to the pole before tightening them all down.
Step 4: Connect the LED cables
The connectors coming from the controller are labelled 1-4.
Attach the LEDs in sequence as shown below.
Step 5: Reattach the bottom cover
Make sure the wires are tucked away neatly and will not get crushed.
Insert the 3 M6x55 bolts, make sure the threads engage in the steel plate and tighten until it begins to get snug. Do not over-tighten the bolts.
Power up
Turn the pole on by flipping the power switch on the bottom.
When the pole gets power, it will flash purple at the bottom within a few seconds of booting.
The animation will not begin until the player boots, which takes around a minute.
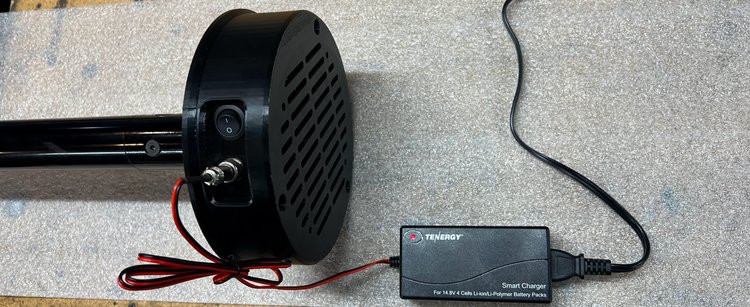
Battery
Battery life: Depends on brightness of content being played, expect between 2 and 5 hours.
Charging: Approximately 4.5 hours if fully drained. Use only the supplied charger.
Light on charger turns from red to green when fully charged.
Battery: Li-Ion 14.8V 5200mAh 76.96Wh Battery pack - Tenergy #31892
Charger: Tenergy TLP3000 1.5A Charger for 14.8V cells
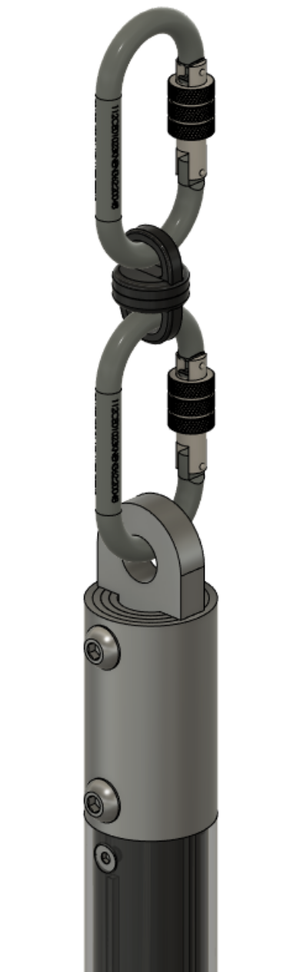
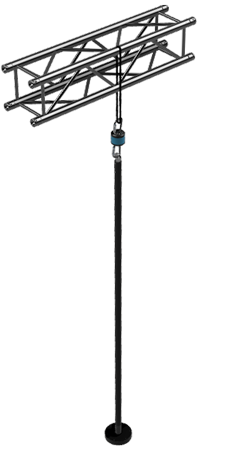
Rigging
Use a rated carabiner to attach to the pole’s top point. Don’t attach a spanset to it directly.
We typically use two carabiners with a swivel between.